Minimalistic Mode
Introduction
Minimalistic mode is designed to reduce distractions for developers who prefer a clutter-free workspace. In this mode, JPA Buddy's panels are hidden, and their content is accessible through standard IntelliJ IDEA windows such as Project panel, Generate menu and so on...
Enabling Minimalistic Mode
Via JPA Buddy Tool Window
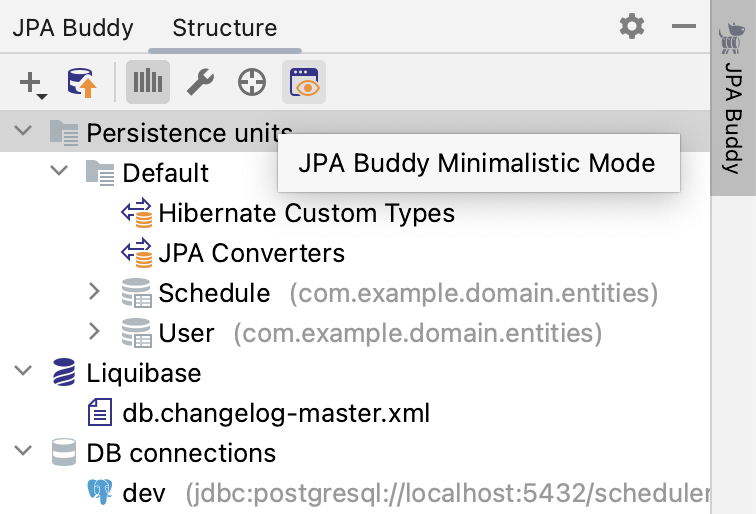
To enable minimalistic mode, click on the "JPA Buddy Minimalistic Mode" button in the JPA Buddy tool window.
Via Settings
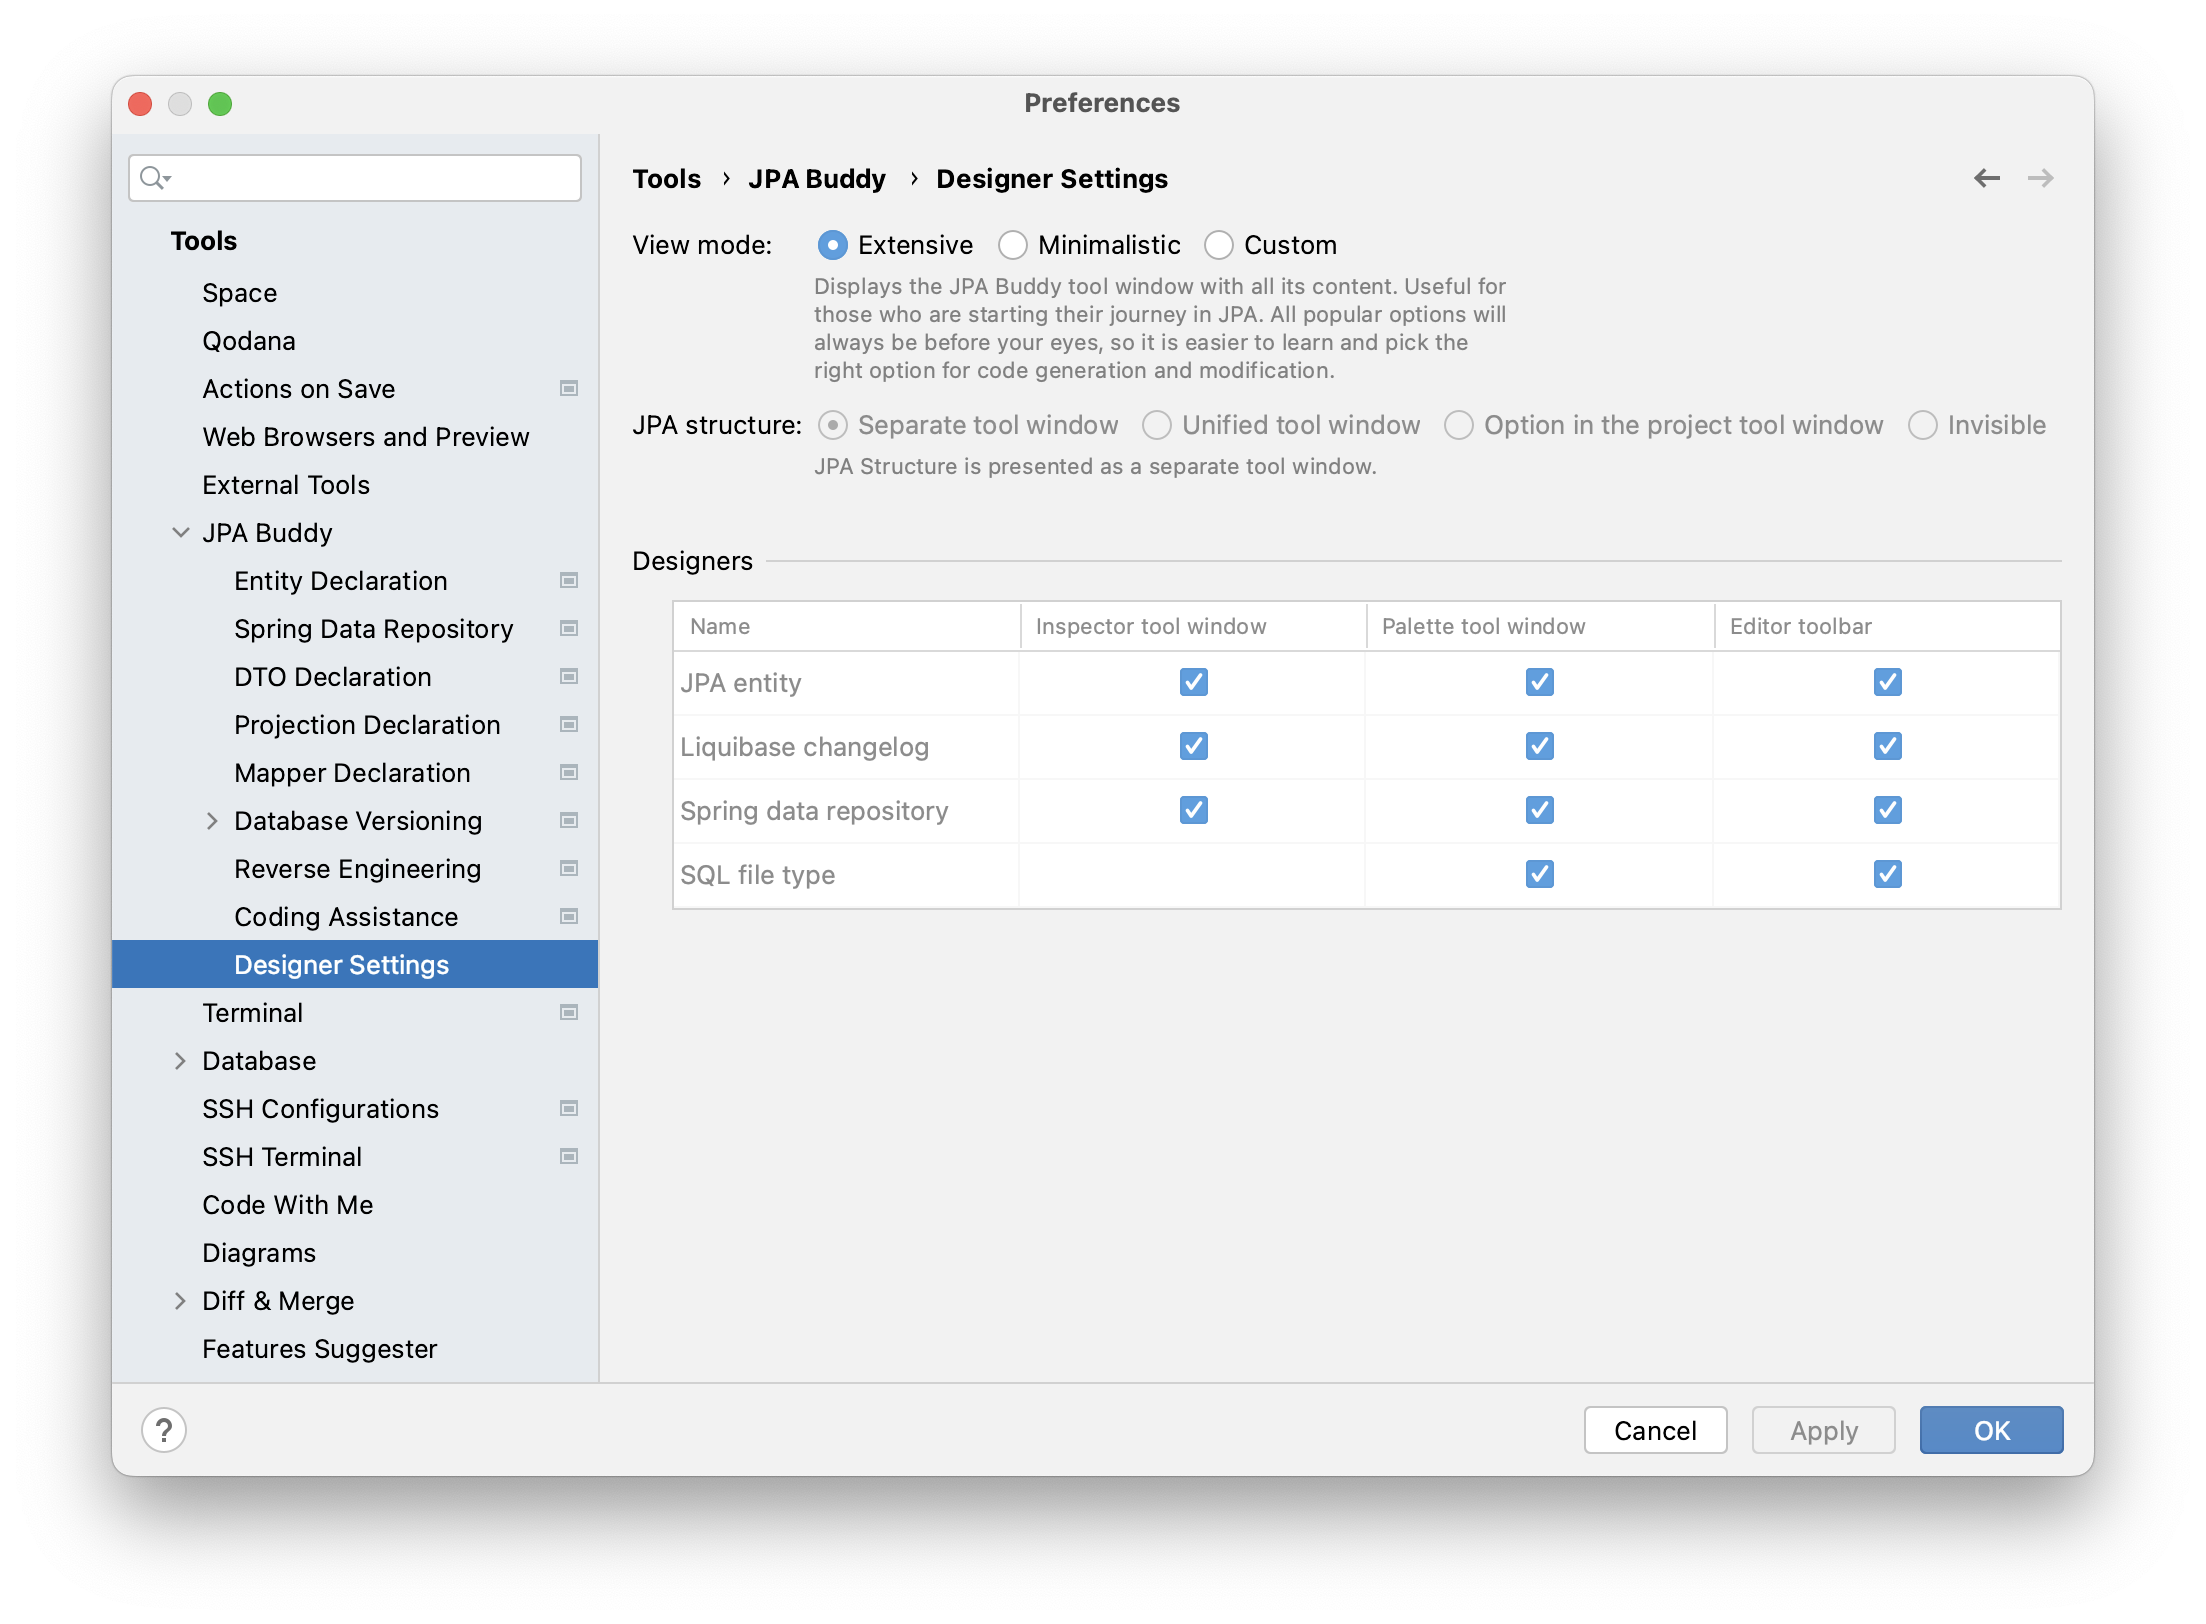
Another way to activate minimalistic mode is via settings. Open Settings -> Tools -> JPA Buddy -> Designer Settings and switch View mode to Minimalistic.

Disabling Minimalistic Mode
To disable minimalistic mode, open Settings -> Tools -> JPA Buddy -> Designer Settings and switch View mode to Extensive.
Using Features in the Minimalistic View
JPA Structure
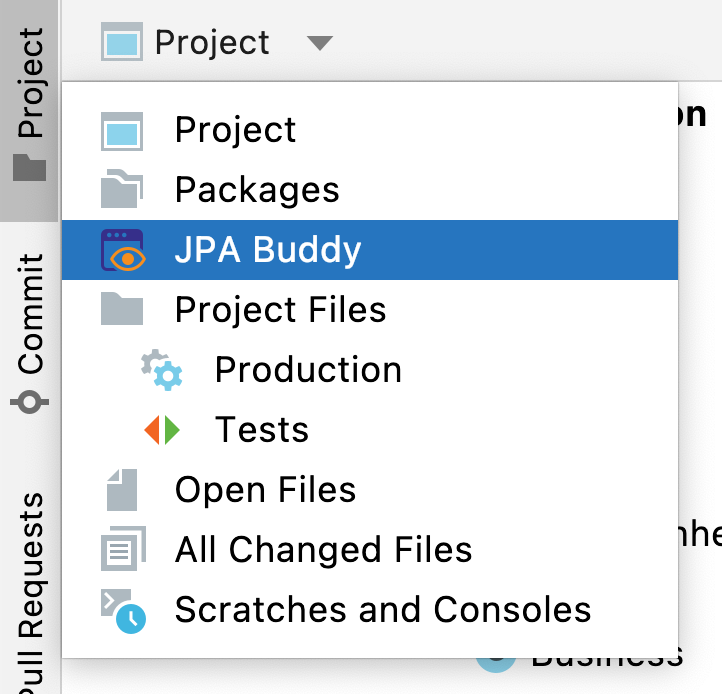
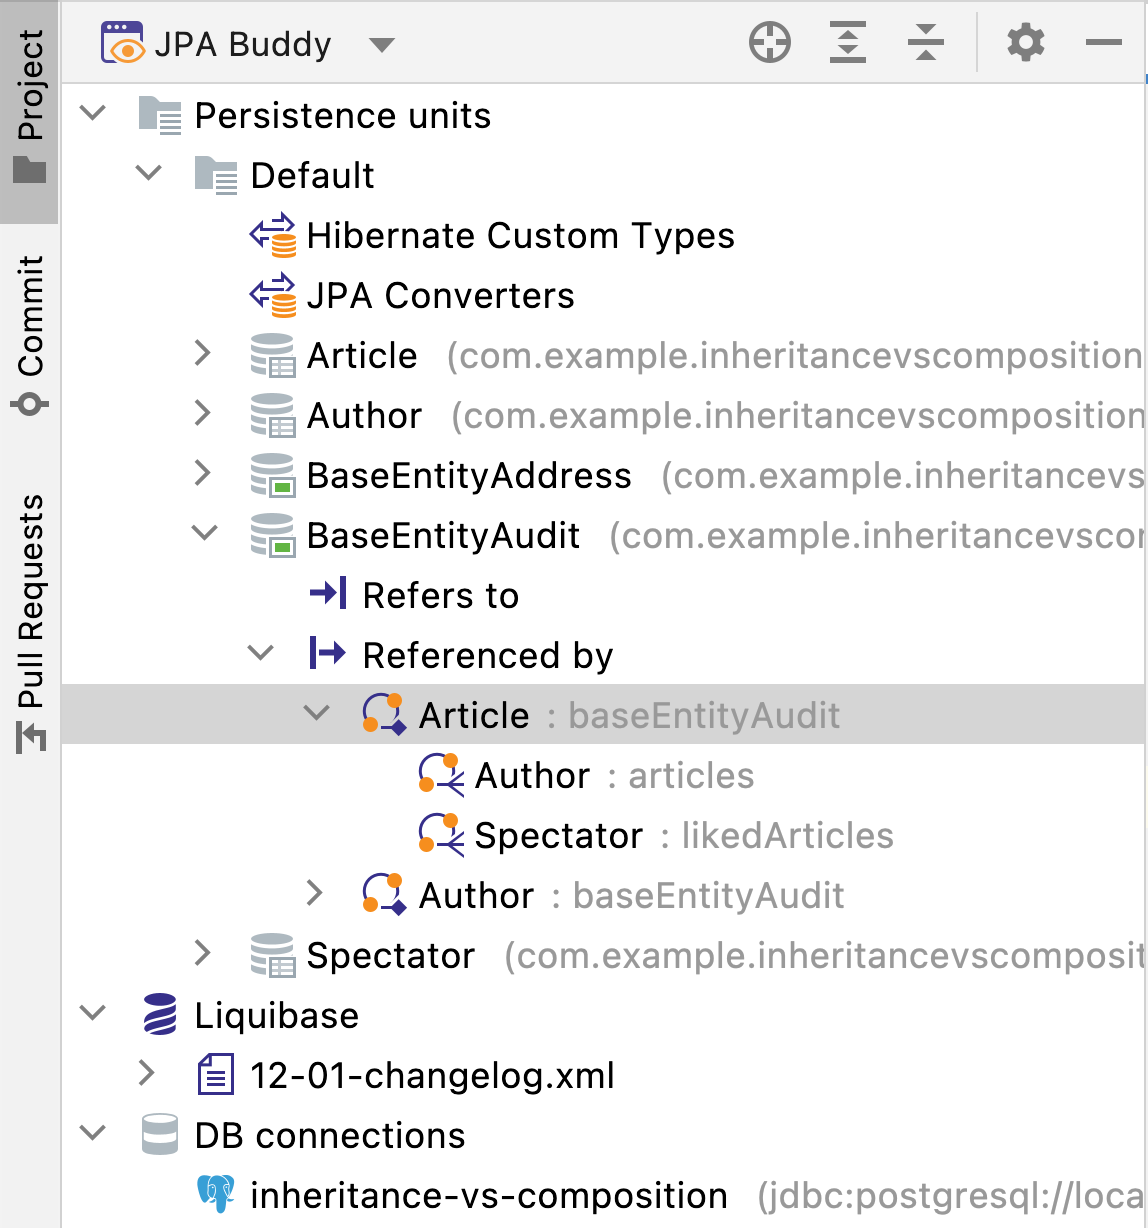
Since one of the primary purposes of JPA Structure tab is to provide a comprehensive data-centric view of the project, it will be available in the Project panel. You can select it from the drop-down list.
JPA Palette
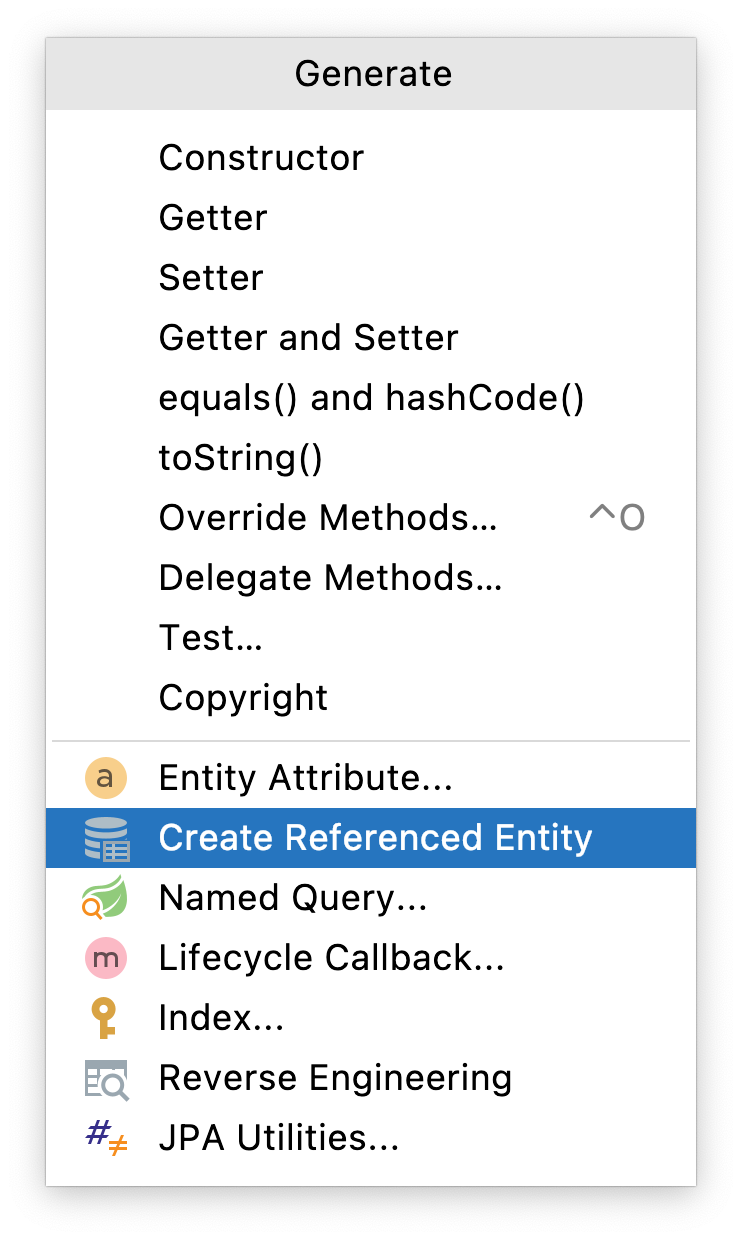
To use wizards from JPA Palette, you need to access the Generate menu (⌘+N/Alt+Insert). Subsequent interactions with them are the same as those explained in the section about JPA Palette.
JPA Inspector
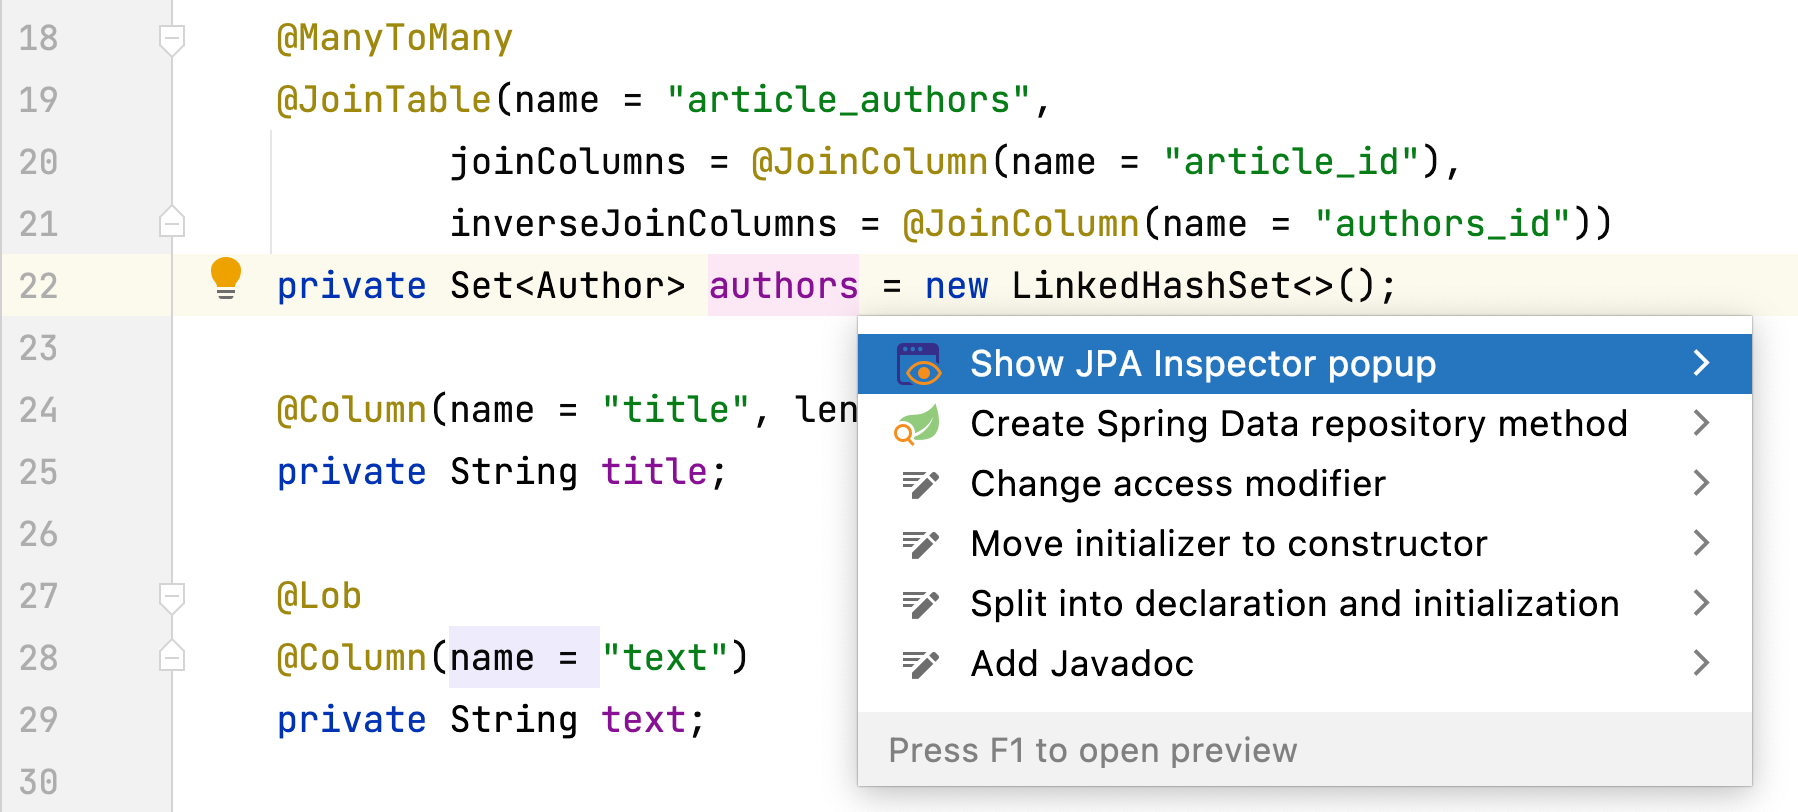
JPA Inspector allows you to configure classes and fields in it. Press (⌥+⏎/Alt+Enter) on any element that you need to configure, and select "Show JPA Inspector popup".
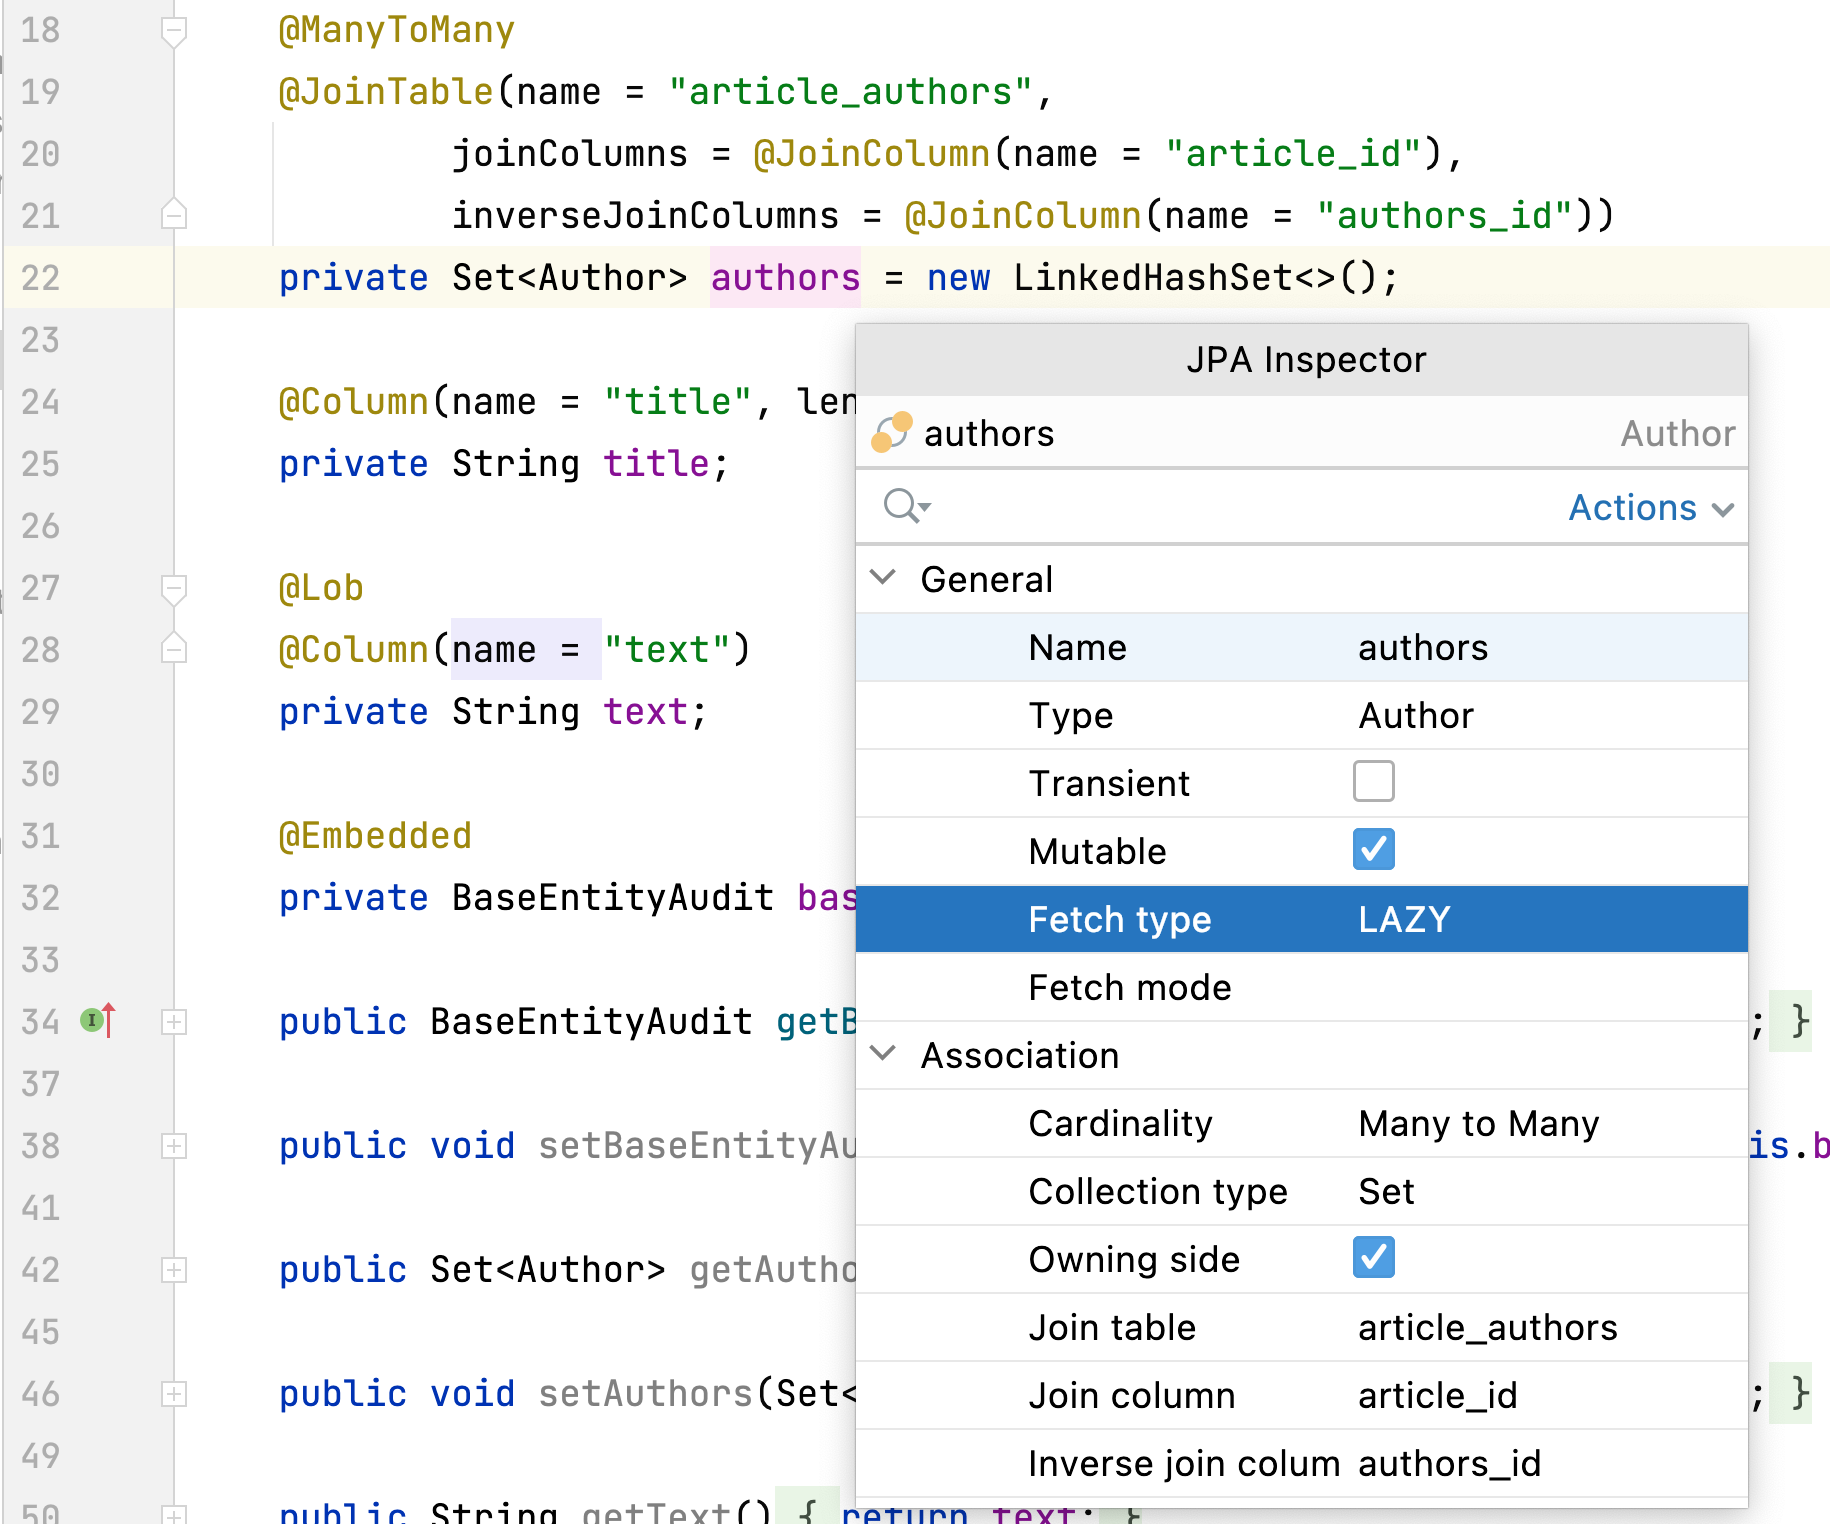
After that, the resizable and draggable JPA Inspector panel will appear. The cool thing is that you can navigate through it and change anything using your mouse or keyboard:
- To move through the lines, use the up (↑) and down (↓) buttons.
- To change the value in the selected row, press the space bar (⎵) twice.
- To close JPA Inspector, click the Esc button.
Custom Shortcuts
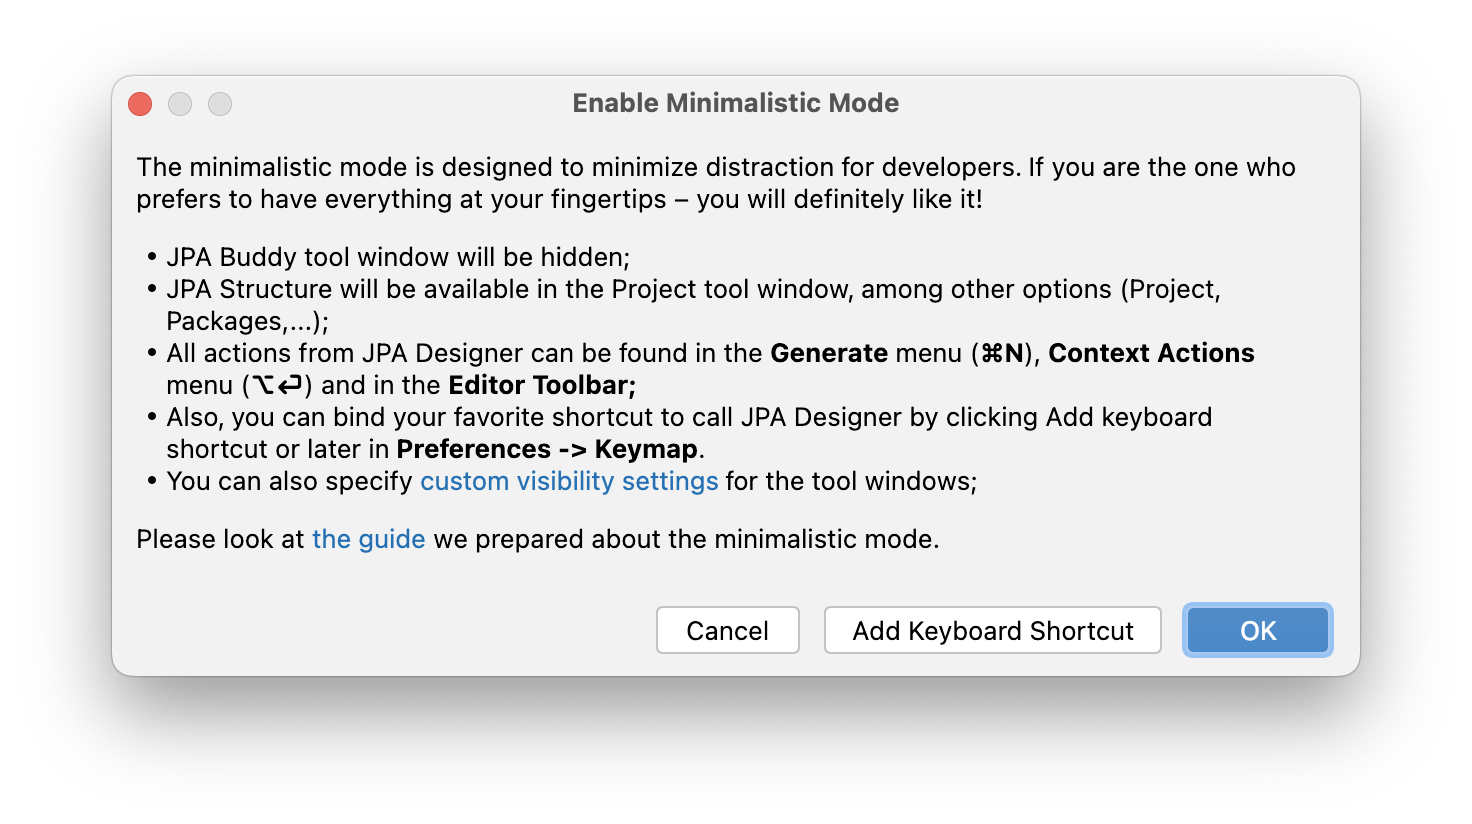
For JPA Inspector popup, it's possible to bind another shortcut. You can do it directly from the "Enable Minimalistic Mode" window, by clicking on the "Add keyboard shortcut":
Or via preferences. Open Preferences -> Keymap -> type JPA Inspector Popup and set your desired combination.
Tags: Distraction-free development, User interface customization, Developer productivity, GUI, Hidden panel, Minimalism